by dbward | Oct 17, 2024 | Uncategorized
“…you look at a thing nine hundred and ninety-nine times, you are perfectly safe; if you look at it the thousandth time, you are in frightful danger of seeing it for the first time.”
― G.K. Chesterton, The Napoleon of Notting Hill
The Premortem tool is at the top of many people’s lists of Favorite ITK Tools. It’s certainly in my top 3, and I recommend it often!
I’ve done a few premortems lately and in the process I saw some room for improvement in the canvas itself. No, I haven’t done nine hundred and ninety-nine of them, but the opening quote from G.K. Chesterton came to mind as I realized I was sorta seeing this tool for the first time. I think the key was doing the several premortems back to back. That allowed me to see patterns I’d previously overlooked – repeated moments of confusion or gaps in the instructions.
So we’re going to update and refresh that tool a bit. We’re planning to add a “quality check” similar to what the Mission & Vision Canvases provide. We’re going to be a bit more specific in a few points, to provide clearer guidance on a couple steps. I’m excited to see what the refresh looks like and to share it with you all!
(PS – The Napoleon of Notting Hill is a terrific book, if you haven’t read Chesterton’s work you’re in for a real treat!)
by dbward | Aug 26, 2024 | Uncategorized
One of my favorite questions is “when was the last time you did something for the first time?”
For folks who are early in their career, the answer is often “this afternoon.” Life is full of first-time experiences when you’re starting out. But those of us who have been around a bit longer might find “first-time” experiences a bit harder to come by. It’s just math – but it’s also inertia and a tendency to stay in our comfort zones.
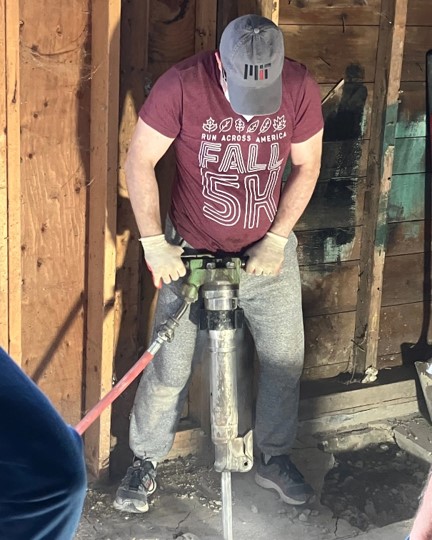
Last weekend, at the age of 51, I learned how to use a jackhammer for the first time as part of a Habitat for Humanity work session. That day was full of firsts, and was a nice reminder to myself of the importance of doing new things. Being a beginner does interesting things to our brains – we have to pay attention in a new way, we have to adopt an open posture as we try to figure out how to do this new thing. When I first squeezed the jackhammer handle I had no real idea how it would feel or how it would work. I really enjoyed being a rookie for a day.
Plenty of people stop trying new things, but nobody lives long enough to run out of new things to try. The world is full of opportunities to explore, experiment, try something new. The key is to look for them, to create them, and to accept them.
So… what is something new you might try?
by dbward | Aug 19, 2024 | Uncategorized
Collaborative culture building is the only kind of culture building. Nobody can build a culture on their own.
I find that explicit culture building efforts are relatively rare. In fact, one participant in a workshop I led defined culture as “that stuff we don’t talk about.” Another senior leader once told me “I don’t do culture, that’s too hard.”
There’s a lot of culture ignoring and culture avoiding instead of culture building. When we do talk about it, a lot of what happens is just culture describing rather than genuine building.
On a similar note, in a recent course on innovation and culture, the instructor insisted that “culture is invisible.” I really must disagree. Culture is very much visible… if we choose to look at it.
Every group has a culture of some kind, a set of “shared beliefs and behaviors” the group holds in common (that’s my favorite definition of culture). These cultural attributes are often unstated or implicitly accepted, without much deliberate discussion or decision. They often happen without people paying much attention to them. But the healthiest groups I’ve ever known are the ones where we do talk about it, where we do see it, where we do make choices about the beliefs we hold and the ways we express those beliefs. Where we go beyond just describing “how we do things around here” and get into “what do we think is really important?” and “how do we want to do things around here?”
We all play a role in building the culture of the groups we’re a part of, by the beliefs we hold and the behaviors we exhibit, whether we know it or not. Even if we’re not building culture deliberately, our beliefs and behaviors build culture every single day.
Here’s your invitation to play that role on purpose, to spark some conversations and build a culture you can be proud of.
by dbward | Aug 12, 2024 | Uncategorized
It’s not particularly helpful to advise people to “be a good communicator” or “do good work,” without giving some sense of HOW to do such things. Such advice is just a platitude that fails to produce action. When I come across that sort of thing in a blog or book, I tend to move on pretty quickly.
But in some cases, there’s an easy fix to that advice. Add the phrase “give yourself permission to…” at the front of the sentence. That often turns it into something much closer to a helpful insight.
“Give yourself permission to be a good communicator” could be helpful in an environment where death-by-PowerPoint is an acceptable standard for giving presentations, and where things like energy, enthusiasm, creativity, humor, personality, or other marks of effective communication are viewed with suspicion. This is particularly common in organizations that value technical aptitude over so-called “soft skills.” In organizations like that, people might even believe “you must not be very technical if you’re a good communicator.” In those cases, It could feel risky to give a good presentation, and so encouraging people to give themselves permission to develop and exhibit soft-skills.
Incidentally, soft skills are actually super hard, in every sense of that word.

by dbward | Jul 29, 2024 | Uncategorized
“A couple of months in the laboratory can frequently save a couple of hours in the library.” — Frank Westheimer
The inverse of the humorous observation known as “Westheimer’s Discovery” is also true: a couple months in the library can easily save a few hours in the lab.
The challenge, of course, is figuring out which situation we’re in. When we’re looking for information, is it more likely found in a book (or these days, a website) or in a physical test tube?
Perhaps the solution to this dilemma is to spend a few hours in each place before we commit to spending a few months in either.
